
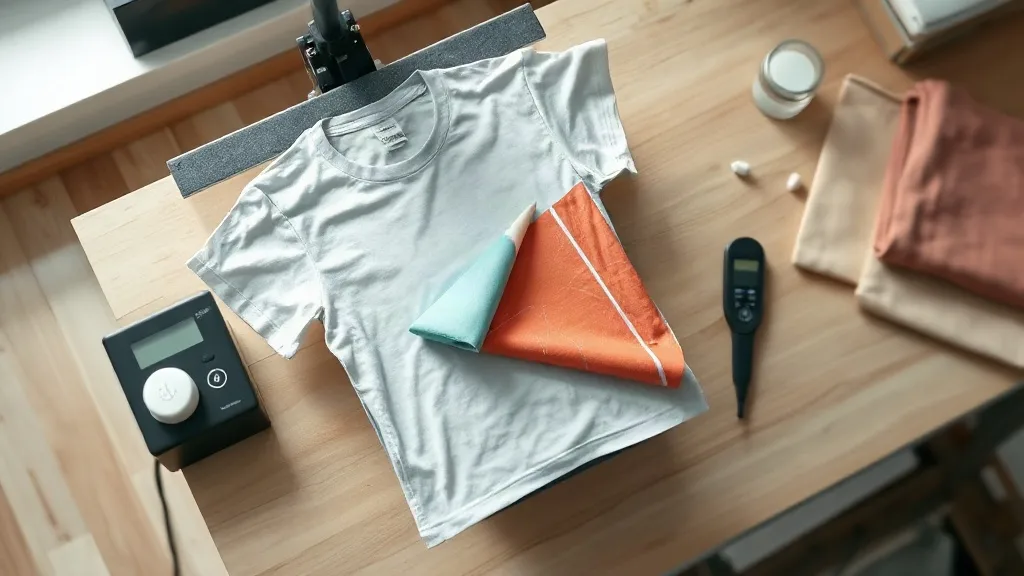
Most print-on-demand sellers hit the same wall somewhere around their third or fourth product line. Vinyl peels on the first wash, screen printing only makes sense if you commit to a hundred units of one design, and sublimation refuses to stick to cotton. That is usually the moment someone in a Facebook group mentions dtf transfers, and suddenly everyone is ordering sheets of film and a heat press.
But DTF is not a magic fix. It is a workflow with its own quirks, its own cost structure, and its own failure modes. This guide is written for the seller who has already watched the YouTube tutorials and now wants to understand what actually happens when you run a job at scale, because the difference between a profitable DTF operation and a frustrating one comes down to details nobody puts in the highlight reel.
What DTF Actually Is, Stripped of the Marketing
Direct-to-film printing works in three layers. First, a printer lays down water-based pigment ink onto a coated PET film in reverse. Then a powder adhesive is shaken over the wet ink and melted into it with a heat gun or powder shaker. Finally, the printed film is pressed onto a garment, and once it cools, the film backing peels away, leaving the ink and adhesive bonded to the fabric.
The important thing to understand is that the adhesive is doing the heavy lifting. The ink sits on top of the fabric rather than soaking into it, which is why DTF handles cotton, polyester, blends, canvas, and even nylon far more gracefully than sublimation. That versatility is the whole pitch. You are not locked into light-colored polyester shirts anymore.
Where the Process Breaks Down
Most DTF problems trace back to moisture, temperature, or pressure. Film that has absorbed humidity from the air will crackle during transfer. A press that is twenty degrees too cool leaves the adhesive undercured, and the design washes out in three cycles. Uneven pressure across the platen produces edges that lift while the center stays put.
Experienced operators treat their press like a piece of lab equipment. They keep a cheap infrared thermometer nearby, they store film in sealed bags with desiccant, and they run a test press on scrap fabric before committing to a customer order. None of this is glamorous, but it is the difference between a five-star review and a refund request.
Choosing a Press and a Film Without Overspending
The market has split into two camps. Large-format roll printers with shaker units serve shops doing hundreds of transfers a day. Desktop setups, usually a converted inkjet with DTF-specific pigment ink, serve everyone else. If you are printing fewer than fifty pieces a week, the desktop route is almost always the right call, because the capital cost of a roll system only pays back at volume.
Film choice matters more than beginners expect. Cheap film tends to have a thinner coating, which means the ink sits closer to the surface and the final print feels lighter on the garment. That sounds good until you realize the thinner coating also makes the film more prone to curling in the printer feed. Mid-range film is the sweet spot for most small operations.
A Quick Cost Reality Check
People underestimate DTF costs because they only count the ink and the film. A realistic per-print calculation includes:
- Film and ink for the design area, not the sheet size you fed in
- Powder adhesive, which is consumed faster than most people budget for
- Wasted film from failed prints, misfeeds, and test runs
- Press electricity and the time you spend weeding and peeling
- Garment cost and the failure rate on your first hundred presses
When sellers do this math honestly, the per-unit cost often lands between one and three dollars for a typical chest print, depending on size and supplier. That is still competitive with other decoration methods, but it is not free, and pricing as if it were free is how new shops end up working for minimum wage.
Fabrics, Products, and the Cases DTF Handles Well
DTF shines on cotton and cotton-poly blends, which covers the bulk of the t-shirt and hoodie market. It also works on tote bags, canvas aprons, denim jackets, and caps, though caps require a smaller platen and a bit of practice to avoid creasing.
Where DTF disappoints is on high-stretch athletic wear and on very textured surfaces. The adhesive layer does not stretch as much as spandex does, so a design on a compression shirt will eventually crack at the stress points. If your catalog leans heavily toward performance apparel, you will want to test a sample through twenty wash cycles before you promise anything to a customer.
Nylon and Waterproof Fabrics
Nylon is a special case. Some nylon shells hold DTF beautifully after a pre-press to remove surface treatments, while others reject the adhesive outright. Always run a peel test on a scrap piece of the exact fabric you plan to sell. Suppliers change their fabric sources quietly, and a jacket that worked last season may not work this season.
Press Settings That Actually Hold Up
Every press and film combination runs a little differently, but a starting point that works for most cotton garments is around 300 to 320 degrees Fahrenheit for 12 to 15 seconds at medium pressure for the initial press, followed by a cool peel. A second short press of 5 to 8 seconds with a cover sheet finishes the bond.
The cool peel is the part people skip. Peeling hot film pulls the adhesive away from the fabric before it has fully set, and the design looks fine until the first wash. Let the garment rest for at least a minute, ideally until it is cool to the touch, then peel in one smooth motion at a shallow angle.
Wash Testing Is Not Optional
Run your own wash test on every new fabric and film combination. Wash inside out in cold water, tumble dry low, and inspect after one, five, and twenty cycles. Photograph each stage. When a customer complains six weeks later, having that photo set on hand lets you diagnose whether the problem was your press settings or their laundry routine.
Finding a Supplier and Sourcing Locally
Shipping time is the silent killer of print-on-demand margins. A film order that takes three weeks to arrive means three weeks of stockouts on your best-selling design. If you are running a shop that promises fast turnaround, searching for dtf transfers near me and building a relationship with a local printer can be worth the higher per-unit price, simply because you can restock in a day instead of a month.
For sellers who would rather not own a printer at all, ordering finished transfers from a service is a legitimate model. You upload artwork, receive pressed-ready sheets, and skip the powder and film entirely. The tradeoff is less control over quality and a higher per-unit cost, but for a side business testing a new niche, that tradeoff is often smart.
Questions to Ask Any Supplier
- What film brand and thickness do you use, and can you send a sample print?
- How do you store film, and do you ship with desiccant?
- What is your typical turnaround from order to shipment?
- Do you replace prints that fail your own wash test?
- Can you match a specific Pantone reference, or do you work in RGB only?
Suppliers who answer these questions clearly tend to be the ones who stay in business. Vague answers about film sourcing are a warning sign.
Common Mistakes That Quietly Cost You Money
The first mistake is printing at the wrong size. A design that looks generous on screen can be undersized on a hoodie chest, and customers notice. Measure the actual print area on your garment before you commit, and keep a template file with the safe zones marked.
The second is ignoring color management. DTF printers do not reproduce screen colors exactly, and a navy that looks rich on your monitor can come out muddy on film. Build a small physical swatch book of your most-used colors so you can compare before you print a full run.
The third is scaling too fast on one design. DTF makes it cheap to print one-offs, which encourages a wide catalog of designs that each sell two units. That feels productive but spreads your marketing thin. Fewer designs, tested properly, almost always outperform a sprawling catalog.
Frequently Asked Questions
How long do DTF transfers last on a shirt?
With correct press settings and normal care, most DTF prints hold up for 50 or more washes. The adhesive bond is the limiting factor, so cool peeling and a proper second press matter more than the ink itself. High-stretch fabrics will show wear sooner than cotton.
Can I use DTF on dark and light garments with the same film?
Yes, that is one of the main advantages over other methods. The white ink layer under the color ink makes the print opaque on dark fabric, and the same film works on light garments without any change in process.
Is DTF cheaper than screen printing for small runs?
Almost always, yes. Screen printing requires a setup per color per design, which only pays off at higher volumes. DTF has a flat per-print cost regardless of how many colors are in the artwork, so it wins decisively for one-offs and short runs.
Do I need a special printer to make my own transfers?
You can convert some inkjet printers with DTF-specific pigment ink and a RIP software profile, but results vary. Many sellers find it simpler to buy a dedicated desktop DTF printer or to order finished transfers from a service until volume justifies the equipment.
What happens if I press the film too hot?
The adhesive can cure too fast and lose tack, and the film may scorch or wrinkle. If you see a glossy, hardened edge or the print feels brittle after cooling, drop the temperature by 10 degrees and test again on scrap fabric.
The Bottom Line for New Sellers
DTF is a genuinely useful tool, but it rewards operators who treat it like a process rather than a shortcut. Nail down your press settings, test every fabric before you sell it, calculate your real per-unit cost, and keep a local supplier in your back pocket for the weeks when shipping goes sideways. Do those four things and the method will quietly carry a large share of your catalog for years.